Rah-rah sis boom bah - it's time for a tutorial!
For my first knitting tutorial I probably should have started with casting on, how to make knit and purl stitches, or even basic increases - but we'll get to that later. For my first tutorial I wanted to start with something fun, something flashy - today, we are making pompoms. Commercial pompom makers are for sale at big box craft stores, and they work great - but there is something so satisfying about creating your own from scratch - plus you can easily make different sizes for different projects!
For this project you will need: some yarn, cardboard, a pen or pencil, scissors, tapestry needle (optional) and a compass or something round to trace.
Step One: Use a compass, or trace a circle from something round you have around the house, a can of soup, a plastic cup, anything works. I used something that was about 3" in diameter. Experiment with different sizes - the larger the circle, the larger your pompom will be.

 |
| Materials |
Step One: Use a compass, or trace a circle from something round you have around the house, a can of soup, a plastic cup, anything works. I used something that was about 3" in diameter. Experiment with different sizes - the larger the circle, the larger your pompom will be.

Step 2: Next, create a concentric circle (ie doughnut shape) by making a smaller circle inside the larger one (it doesn't have to be perfect)
 |
| not perfect doughnut |
Step 3: Cut out your circle using a sharp pair of scissors. Again - we aren't striving for perfection here, but if a perfect circle matters to you, try using an exact o knife instead of scissors. But BE CAREFUL please.

 Step 5: Put your two doughnuts ontop of each other. Cut a length of yarn and begin wrapping it through the middle hole, around the doughnut. A tapestry needle can help, but isn't necessary.


Step 4: Use your existing cut out doughnut to create another, just like it.


Continue wrapping...

Until your doughnut is completely covered by the yarn. the more yarn you use, the thicker your pompom will be, so if you aren't sure; air on the side of heavy-handedness - it's easy to take some out if you aren't happy with the shape- but nearly impossible to add more later.
 |
| so pretty |
Now, like any child before he destroys his sandcastle, stand back and admire your work for a moment. Isn't it so pretty?
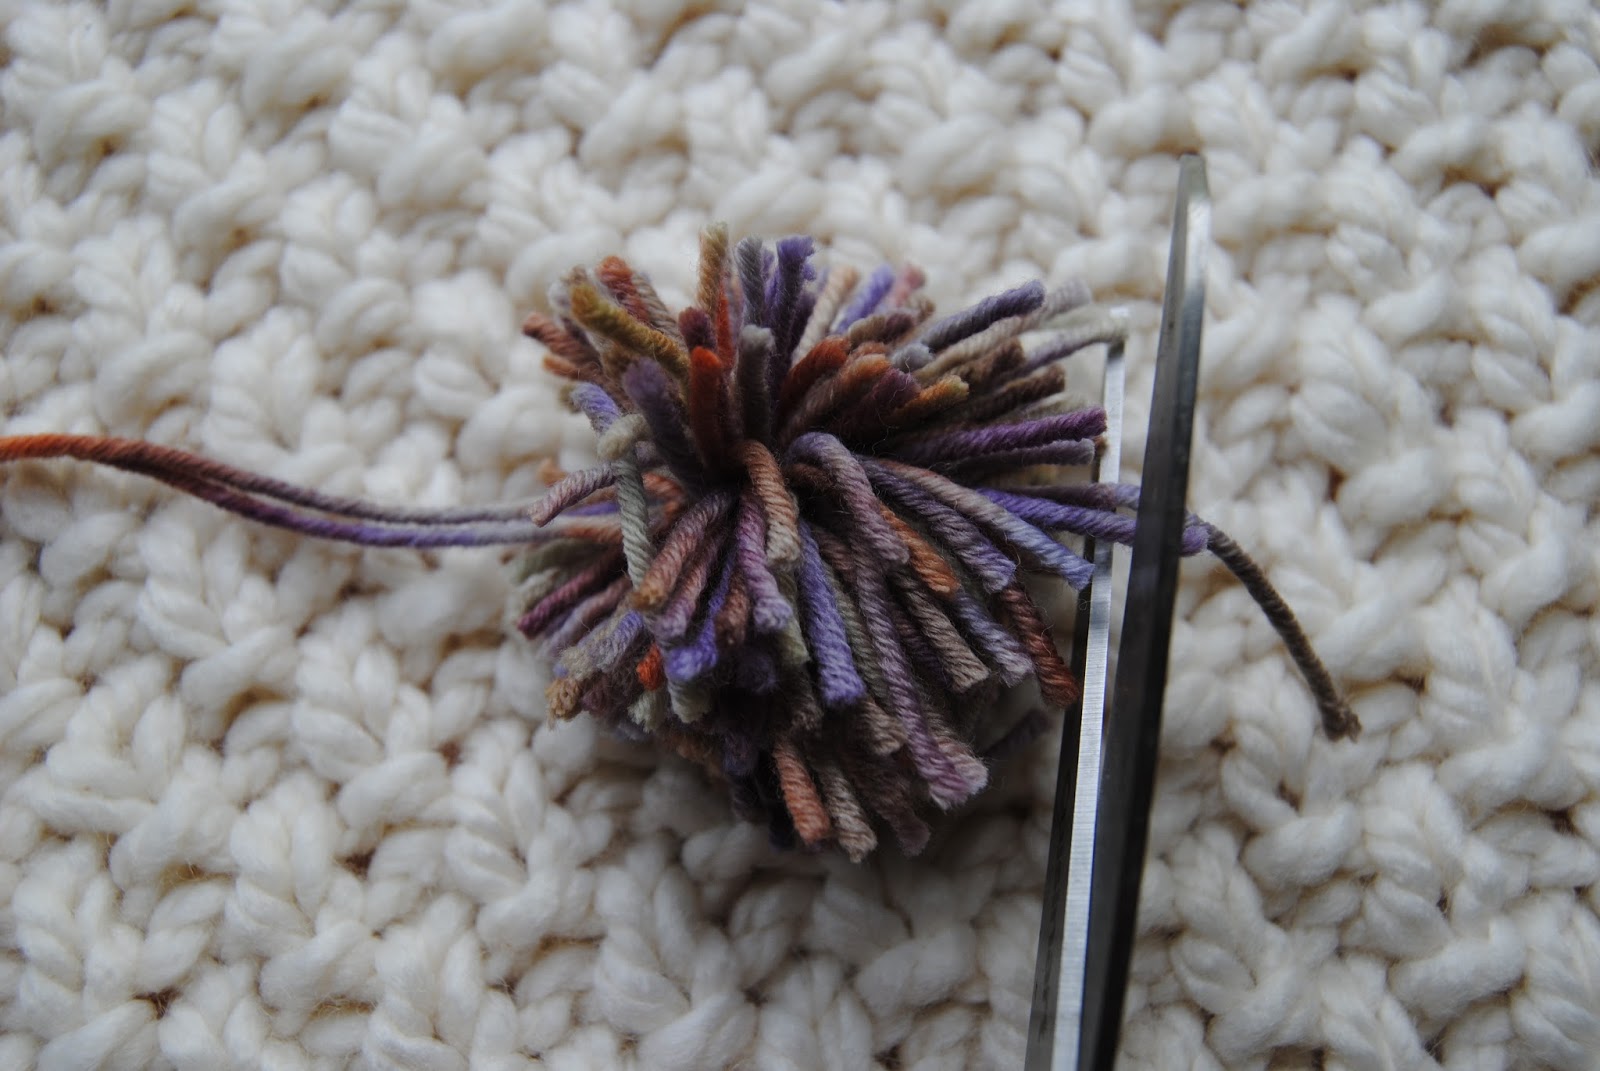
Step 6: Destroy. Placing your scissors between the two pieces of cardboard, snip the yarn, along the doughnut.

Continue cutting all the way around...

Until you are left with a shaggy mess like this:

Step 7: Cut a length of yarn. Wrap it around your almost-pompom, between the cardboard pieces. Then tie it off tightly

Step 8: Carefully remove the cardboard guides.
 |
| I need a manicure |
Step 9: Give your pompom a haircut! If you see any uneven or stray pieces, trim them to match the others.
Now, fluff


Step 10: Add your pompom to an existing hat, or other project to create maximum cuteness!
 |
| Voila! |
Once you start experimenting with different textures and sizes you'll want to add pompoms to everything you own!
Have a question about this tutorial? Leave a comment and we will answer you asap!
HMF
xo
No comments:
Post a Comment